14-Displaying Media Files on a Template
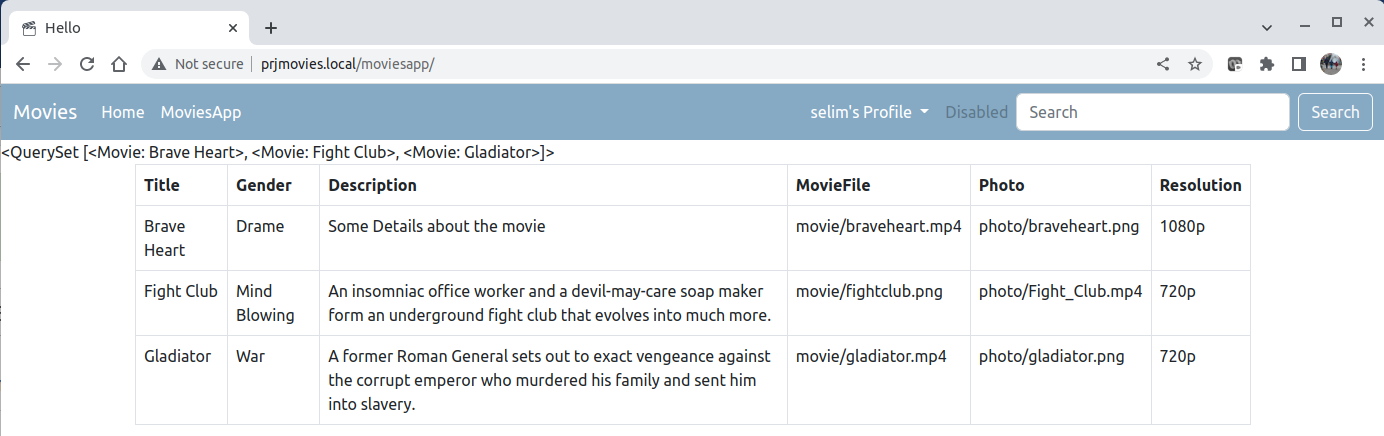
In previous articles we have created some movie records and we displayed movie records into a table like below. This is how the data is displayed right now. Note how MovieFile and Photo paths are saved into the database when I uploaded these files. In Part7, we configured MEDIA_URL, it is now time to use it to fetch these media files on our template.
In Part10, we fetched the above db records by using a for loop in our template (moviesapp.html). I am now going to modify moviesapp.html a little bit and I will use MEDIA_URL to display these media files. I only changed the MovieFile and Photo sections. I added {{MEDIA_URL}} then {{object.fieldname}}. Please check below.
{% extends 'base.html' %}
{% block title %}
    <title>Hello</title>
{% endblock title %}

{% block content %}
        {{movies}}
    <div class="container">
        <table class="table table-bordered">
            <thead class="thead-dark">
                <tr>
                <th scope="col">Title</th>
                <th scope="col">Gender</th>
                <th scope="col">Description</th>
                <th scope="col">MovieFile</th>
                <th scope="col">Photo</th>
                <th scope="col">Resolution</th>
                </tr>
            </thead>
            <tbody>
                {% for m in movies%}
                <tr>
                    <td>{{m.title}}</td>
                    <td>{{m.gender}}</td>
                    <td>{{m.description}}</td>
                    <td>
                        <video width="350"height="250"controls>
                            <source src={{ MEDIA_URL }}{{m.moviefile}} type="video/mp4">
                        </video>
                    </td>
                    <td> <img src={{ MEDIA_URL }}{{m.photo}} width="150" height="250"></td>
                    <td>{{m.resolution}}</td>
                </tr>
                {%endfor block%}
            </tbody>
        </table>
    </div>
{% endblock content %}
With that change, I can now display my media files on the template like this.

On this template, I just want to display the titles and photos. When user clicks the photo or the title, Django will take the user to another page where the user can watch the actual movie. First I modify the template (moviesapp.html) to have a better looking layout.
{% extends 'base.html' %}

{% block title %}
    <title>MoviesApp</title>
{% endblock title %}


{% block content%}
<div class="p-3 mb-2 bg-dark text-white">
    <div class="container" style="background-color: #86aac4;">
        <div class="row row-cols-6">
            {% for m in movies%}
                <div class="col-2">

                        <a href="#">
                        <img src="/{{ MEDIA_URL }}{{m.photo}}" class="img-thumbnail">
                        <p class="text-light">{{m.title}}</p>
                        </a>

                </div>
            {%endfor block%}
        </div>
    </div>
</div>
{% endblock content %}
Now the template lists the movies photos and titles like this.

Now what this template needs is having a link to the corresponding movie file. To do that, I will first modify the link on moviesapp.html template. Then I will create a url, view and a template on which we displaythe actual movie file on a player.
Go ahead and change the following on moviesapp.html. Note that, we also pass the id of the corresponding movie record.
<!--Change this href from this -->
<a href="#">


<!--To this -->
<a href="/{% url 'watchmovie' m.id %}">
add a new path for watchmovie url into the urls.py. Note that, url is also passing <id>
path('watchmovie/<id>', views.watchmovie, name='watchmovie'),
create a view named watchmovie. This view also takes id as the second argument. By using that id, it queries the database and fetches corresponding movie records and returns it to the template. Each time a user opens this url, numberofviews field on this object is increased by 1 and saved to the database. We also saving the data for which user watches which movie if the user is autheticated.
def watchmovie(request, id):
    movieobj = Movie.objects.get(pk=id)
    movieobj.numberOfViews += 1
    movieobj.save()

    #This part is for which user watched which movie
    if request.user.is_authenticated:
            Watched.objects.create(user= request.user, movie=movieobj)
    return render(request, 'watchmovie.html', {'movieobj': movieobj})
Finally create a template named watchmovie.html
{% extends 'base.html' %}
{% block title %}
    <title>Watch Movie</title>
{% endblock title %}

{% block content %}
    <div class="container">
        <table class="table table-bordered">
            <thead class="thead-dark">
                <tr>
                    <th scope="col">{{movieobj.title}}</th>
                </tr>
            </thead>
            <tbody>

                <tr>
                <td>
                    <video controls>
                    <source src="/{{ MEDIA_URL }}{{movieobj.moviefile}}" type="video/mp4">
                    </video>
                </td>
                </tr>

                <tr>
                <td>Viewed: {{movieobj.numberOfViews}} |
                Duration: {{movieobj.duration}} min. |
                Published: {{movieobj.publishDate}} |
                Date Added: {{movieobj.date_added}} |
                MA Score: {{movieobj.movieapp_score}}
                </td>
                </tr>

                <tr><td>Comments:</td></tr>

            </tbody>
        </table>
    </div>

{% endblock content%}
For now the template looks like below

The next step is to create some comments from admin panel and calling the comments for their corresponding movies. Then I will add a comment form for users. That is it for now.
- Hits: 328