Modifying Custom WIM image
You might need to copy, delete or modify some files on your image. You can do this kind of modifications by using imagex or dism tool. I am going to use Imagex tool for this post.
Before we begin, make sure you download and install Windows ADK with Deployment and Imaging Tools option.
Disable the wim Image on WDS console and then right click on the image and export it otherwise you will get the error below while mounting it.
“1812 the specified image file did not contain a resource section"
I exported my image into C:\TempExported\Ortak.wim
Start Deployment and Imaging Tools Environment as Administrator (This comes with ADK)
Type
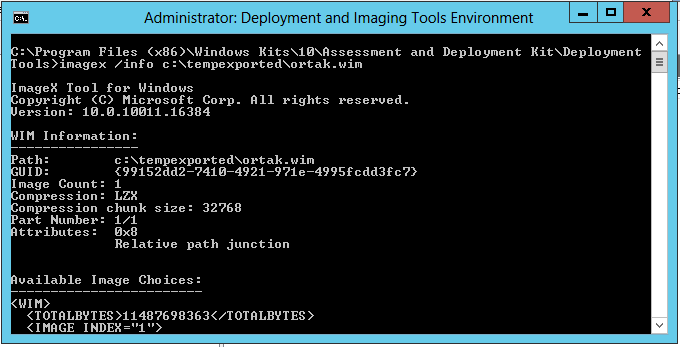
imagex /info imagex /info c:\tempexported\ortak.wim
This command will give you info about the image such as How many different os that wim has, os edition, build number etc. I have 1 windows image on the wim (see the Image Count)
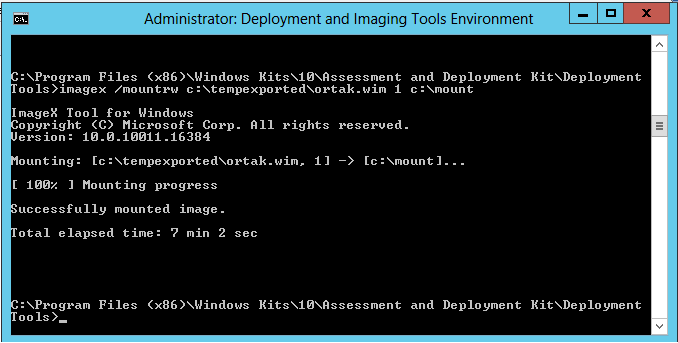
Create a folder under C drive named “mount”. We will mount wim file to this folder and do themodifications there. Type the command below to mount the image
imagex /mountrw c:\tempexported\ortak.wim 1 c:\mount
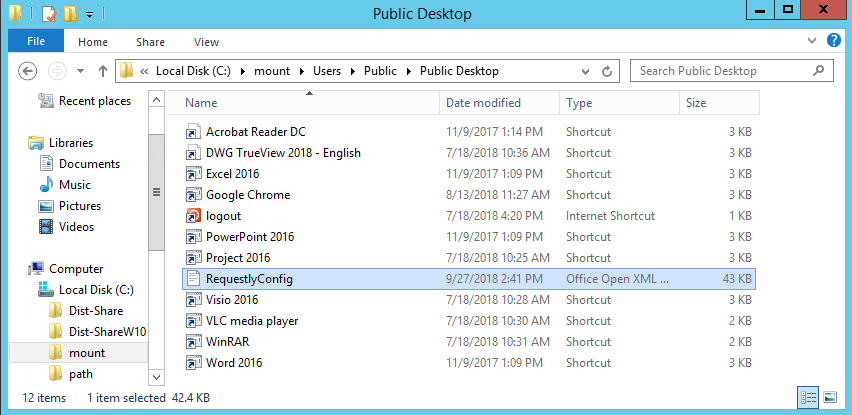
I will copy a word file named “RequestlyConfig” to public user desktop
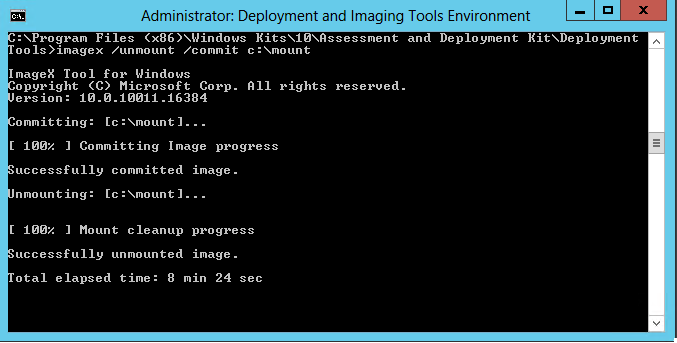
When you are done with the modification type
imagex /unmount /commit c:\mount
Note: If you don’t want to save the changes you made, you can use /discard switch instead of /commit switch.
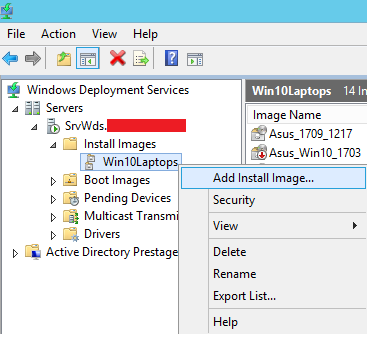
Now add the modifed image back to WDS.
- Hits: 4515