
In this article, I am going to setup my own virtualization home lab by using vmware workstation. We will be installing 2 ESXi servers on VMs that runs on Vmware workstation. As a shared storage, I will install Windows ISCSI Server role on a VM that runs on vmware workstation. After you complete this article you can also install vcenter server instance but I will not cover vcenter installation because it is pretty straight process. You can easily find tons of vcenter installation articles on the net. This kind of environment is great for testing purposes and this will give you a playground where you can test all esxi and vcenter related tasks.
On my host machine, I have i7 10700K (8cores) CPU and 64gb memory. Therefore I am going to assign each ESXi servers with the following resources.
CPU: 1socket 4 or 6 cores
Memory: 8gb
Disk: 40GB
NIC: Bridged (I will add another NIC later on)
On the host machine, make sure:
- Run the following to disable Hyper-V
bcdedit /set hypervisorlaunchtype off
- Enter host machine's BIOS & make sure you enabled Intel Virtualization Technology
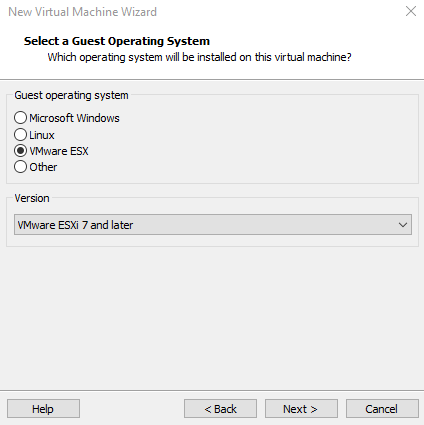
- Create a new VM on VMware workstation > Choose VMware ESX on "Guest operating system" section
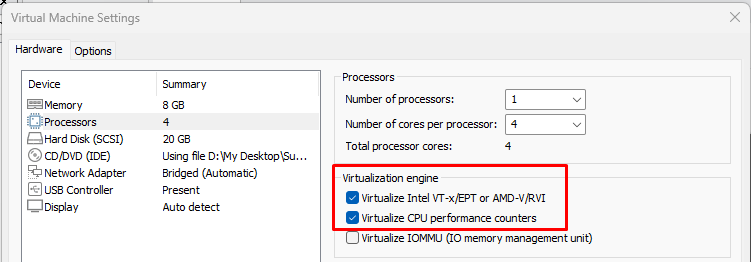
- Before powering on the ESXi VM, Make sure you enable the following Processor options. Mount the ESXi ISO file and Power On the VM.
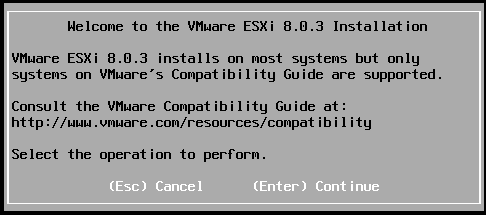
After a few minutes, ESXi installation will start. Hit Enter.
On the next window, Hit F11 to Accept the License Agreement.
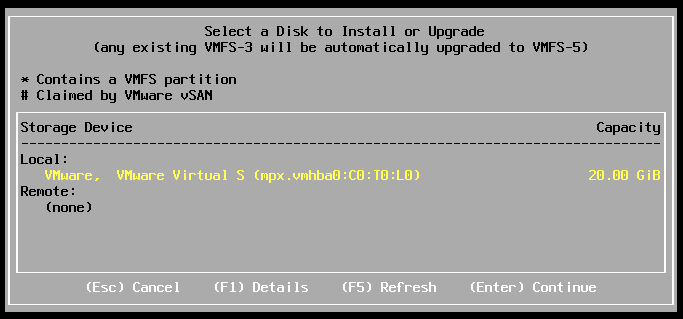
Select the disk to install ESXi and Hit Enter
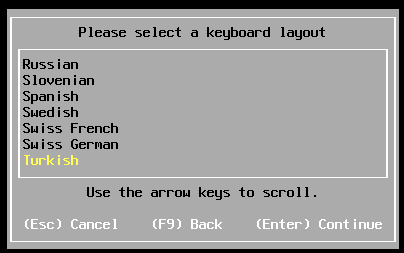
On the next window select your keyboard layout.
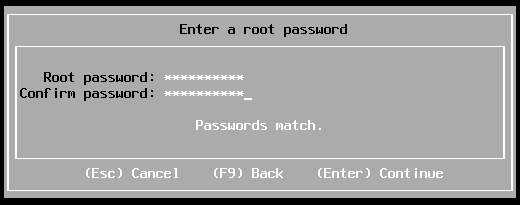
Enter a password for root account and Hit Enter
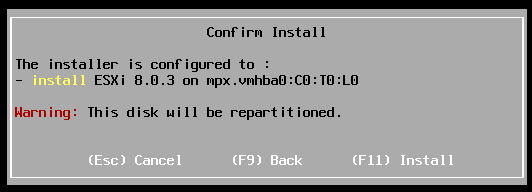
To confirm and start the installation Hit F11
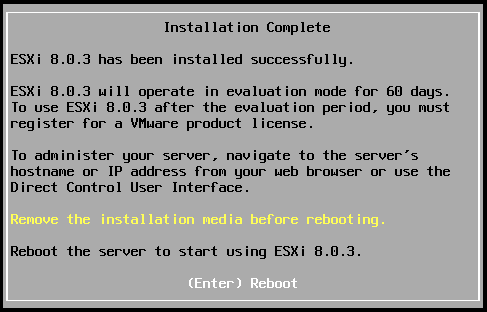
When Installation is completed, hit Enter to reboot.
After the reboot, on the main screen Hit F2 to configure the IP addresses, hostname, and DNS server.
Configure Management Network > IPv4 Configuration
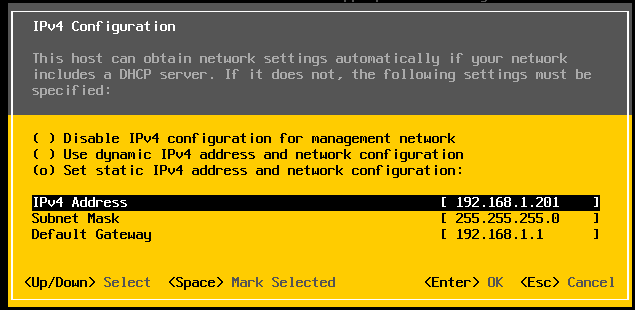
Disable IPv6. We dont need Ipv6.
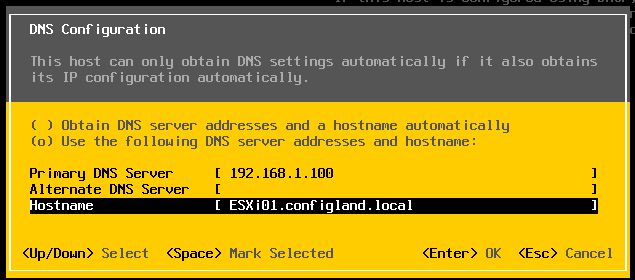
Enter your DNS server IP and give a hostname to this host. Make sure you add the hotname+DNS suffix (configland.local in my case) like below. Otherwise Custom DNS suffix would add "home.local" as the DNS suffix. Basically custom DNS suffix info will be fetch from what you enter on this screen.
Hit Enter.
Hit Y to apply changes.

Install the second ESXi by following the same procedure above.
Finally we create the DNS records for vcenter and ESXi hosts

The ISCSI traffic should not go outside of my physical machine. Because, that traffic would create bottleneck on my physical NIC. Therefore I am going to add a second NIC on ESXi hosts. The connection type will be "Host Only". My home lab IP Configuration will be set like the following:
192.168.1.100 AD + DNS (bridged)
192.168.1.200 vcenter (bridged)
192.168.1.201 esxi01 (bridged)
192.168.1.202 esxi02 (bridged)
192.168.1.203 iscsi-server (bridged)
192.168.200.10 iscsi-server (host-only)
192.168.200.11 esxi01 (host-only)
192.168.200.12 esxi02 (host-only)
On Vmware Workstation, add the second NIC to Esxi hosts, choose Host-Only connection.

Now log on to ESXi Web UI > Open Networking > Virtual Switches > Add standard virtual switch
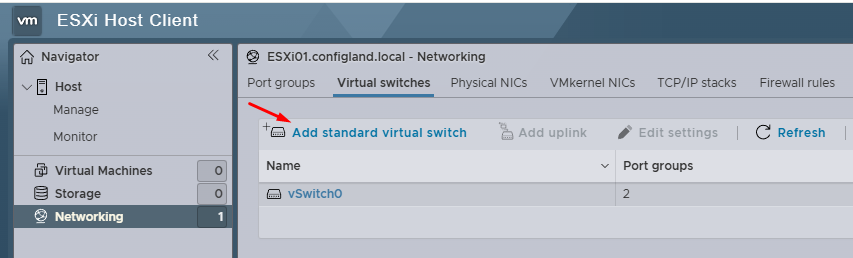
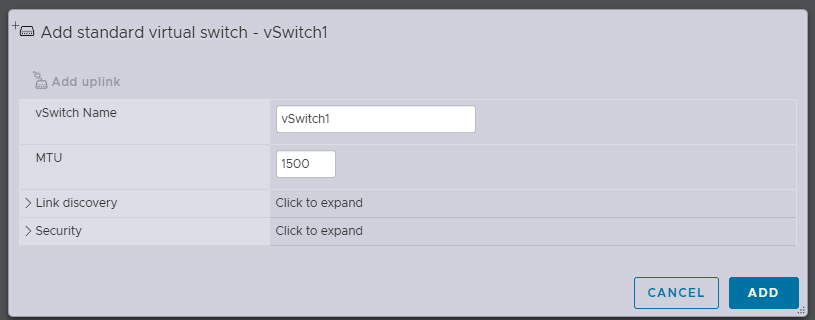
Name it vSwitch1
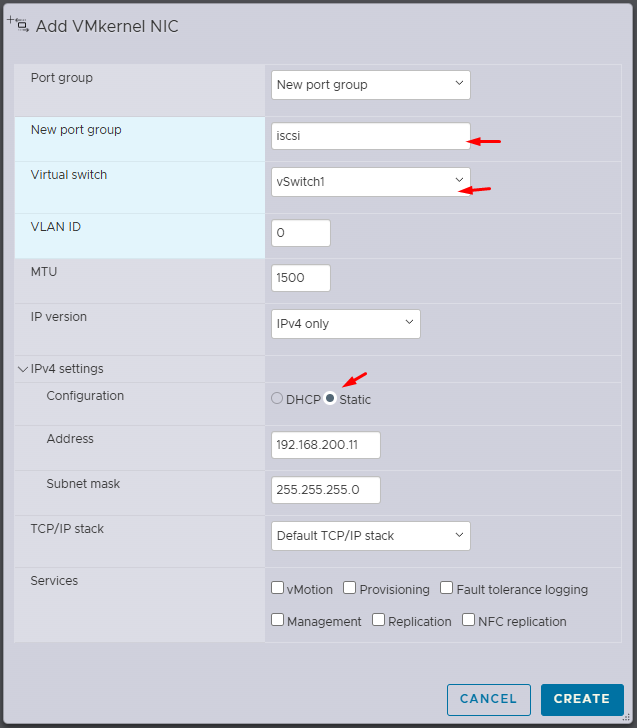
Then Open Networking >VMkernel NICs > Add VMkernel NIC

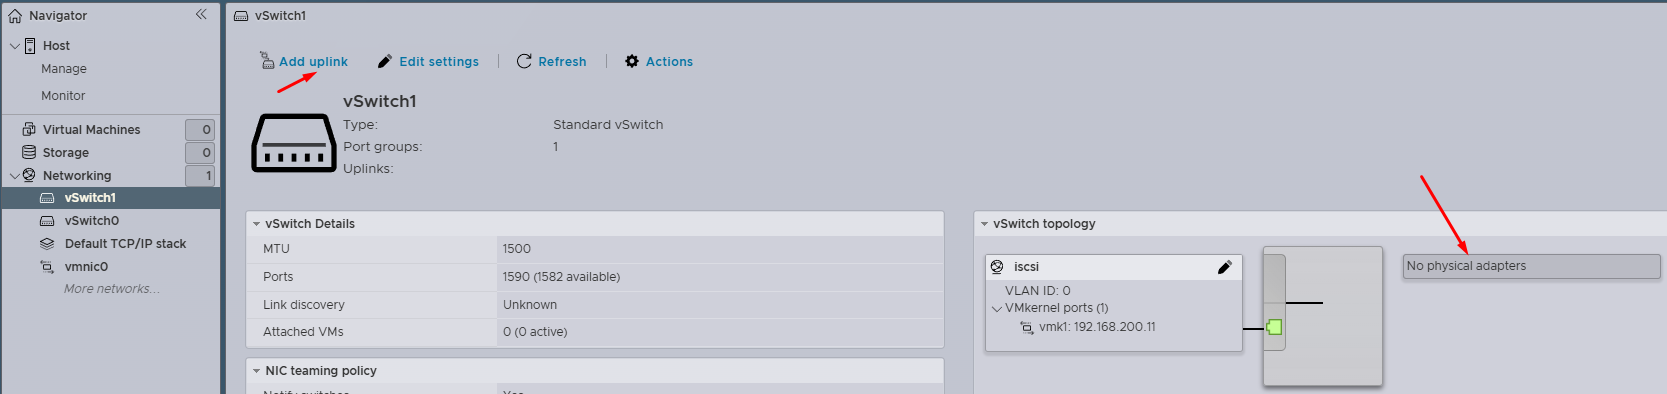
vSwitch1 does not have an uplink. Let's add it.
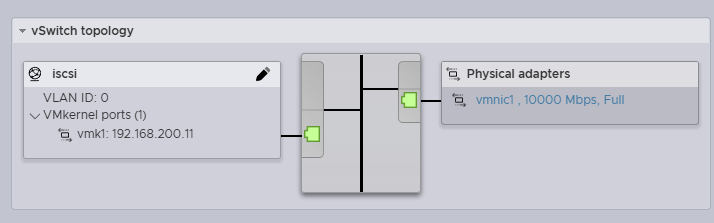
Now uplink is active
Make sure you add the vswitch1 and vmkernel NIC on ESXi02, too by following the same procedure above.
To be able to enable iSCSI adapter on ESXi hosts, the iSCSI target must be reachable. Therefore at this point I have to configure Windows iSCSI server. After that I can complete enabling the iSCSI adapter on ESXi hosts.
Windows iSCSI Server Installation (Shared Storage):
We will install this server as a VM on Vmware Workstation. This server will also have 2 NICs. One for local network (192.168.1.0/24) and the other for iSCSI network (192.168.200.0/24).
Do not enter Gateway or DNS address on iscsi NIC.
Before installing the iSCSI Target role, I will add second disk to this server. I need to make sure this disk is initialized and drive letter is given. After that we can start installing the role.
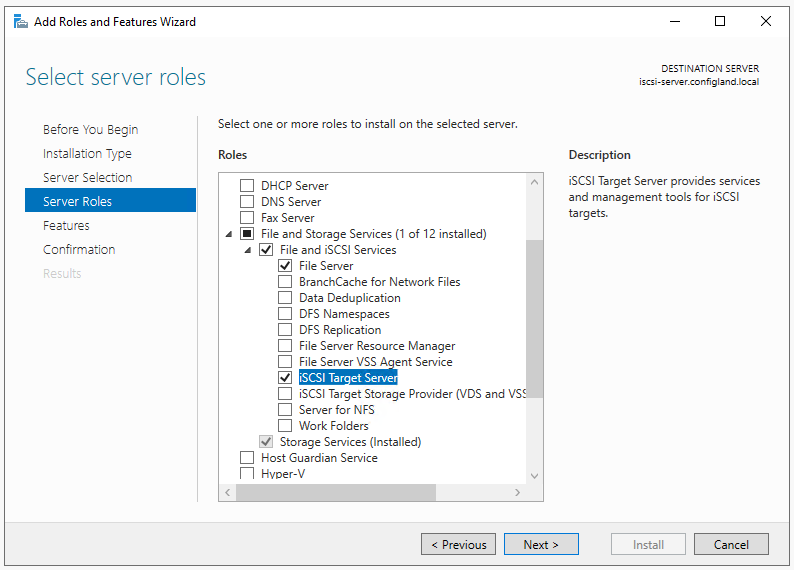
Server Manager > File and Storage Services > iSCSI Target Server
Go with default selections on "Select Feature window" and click Next. Finally click Install button. After completing the installation
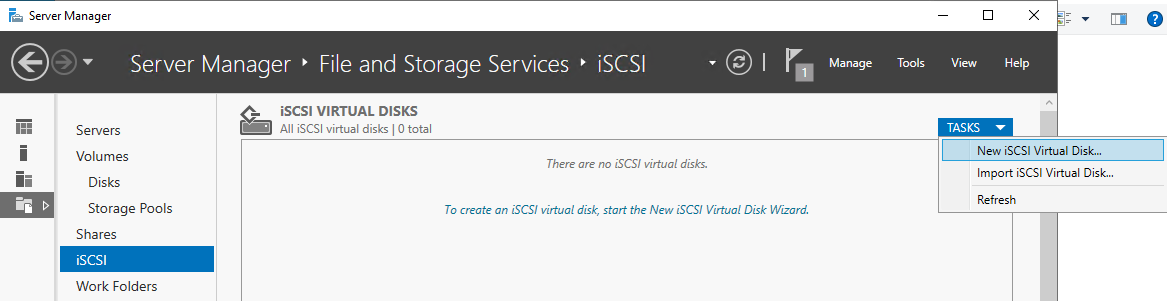
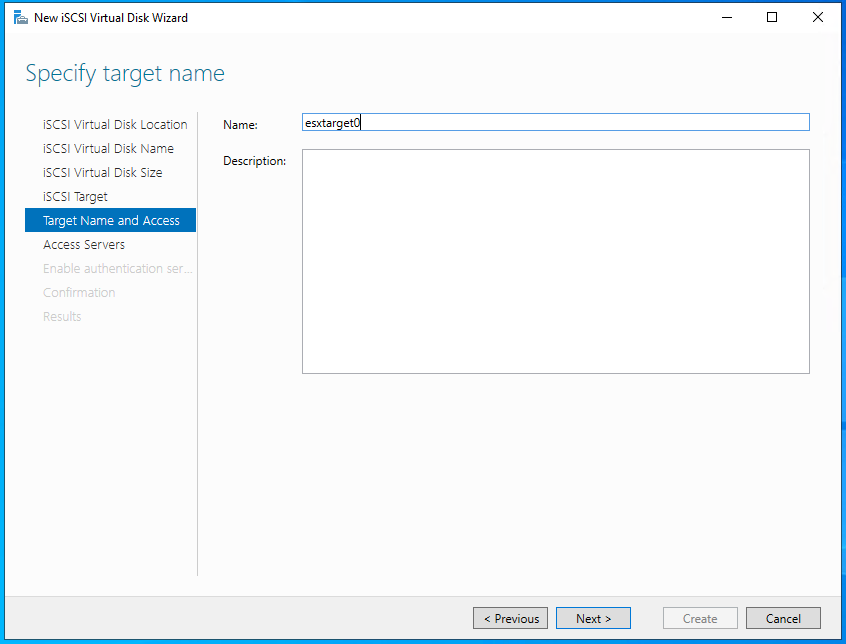
Server Manager > File and Storage Services > iSCSI> Tasks> New iSCSI Virtual Disk
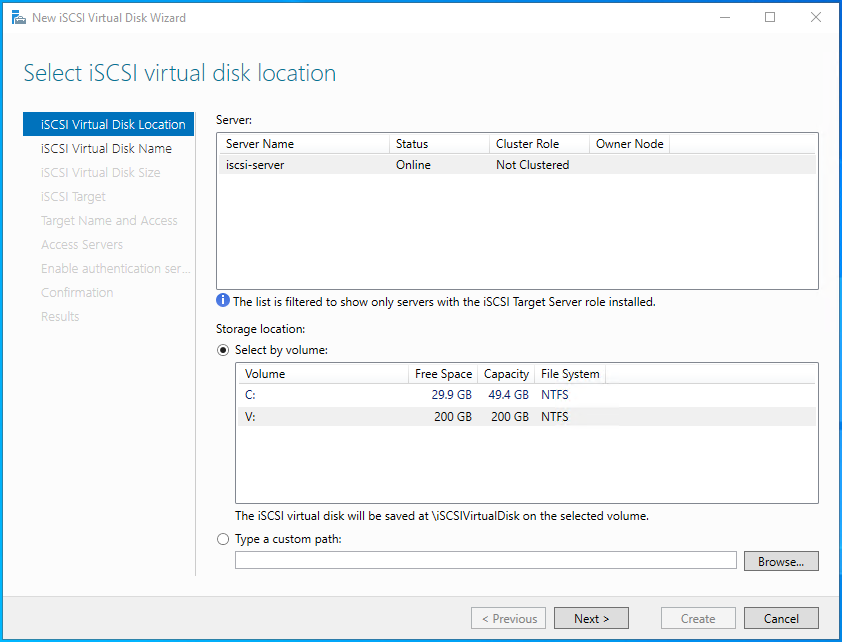
We select the disk that will be accessed by Esxi hosts

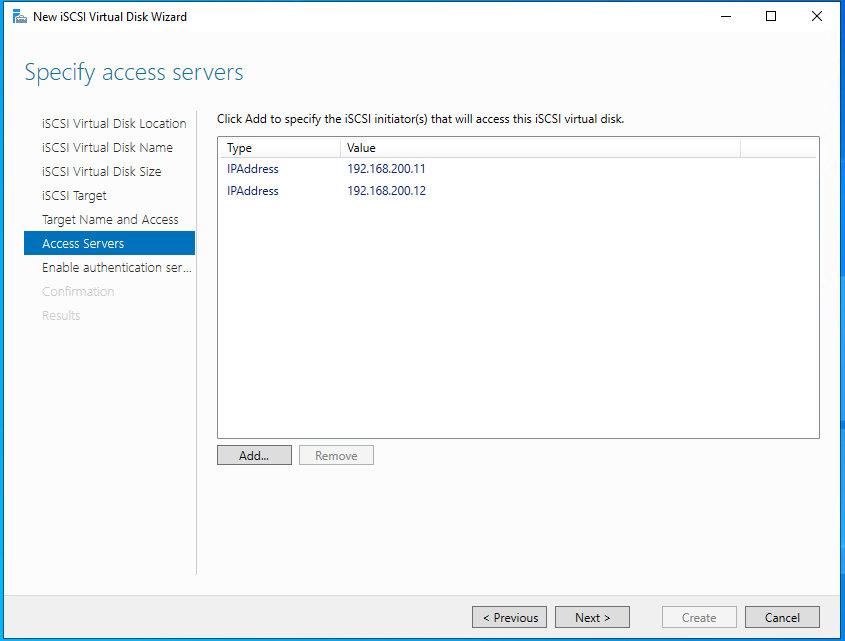
Click Add button and add both Esxi hosts IP addresses
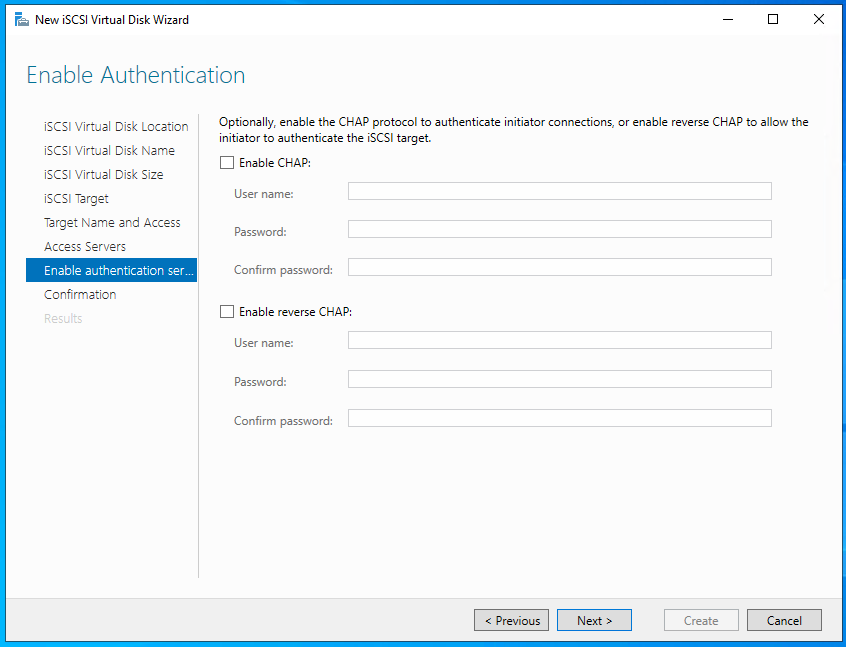
Just skip the authentication
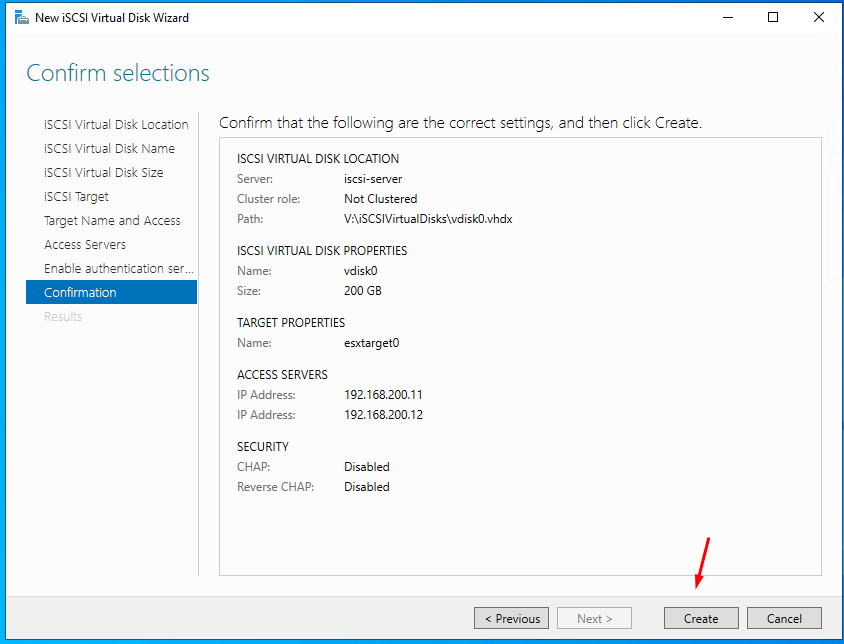
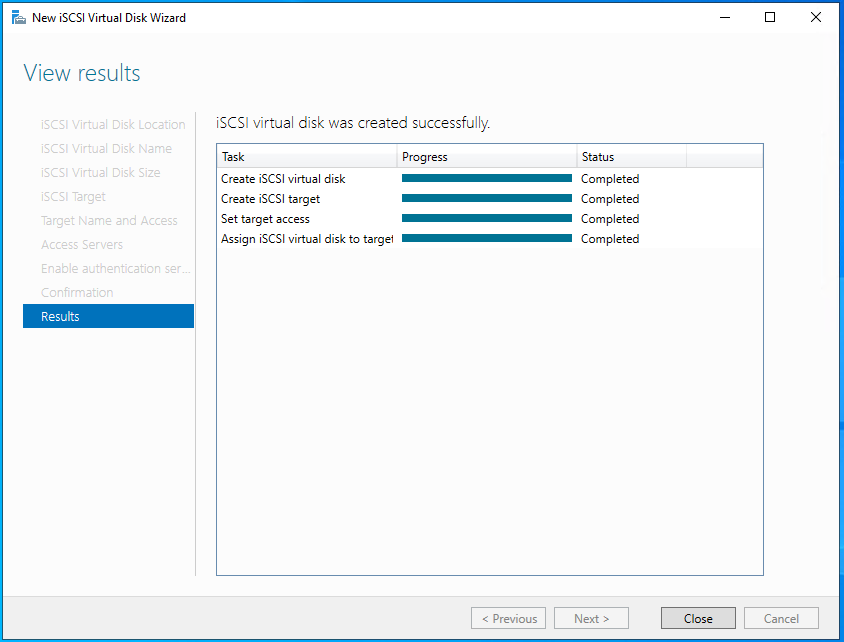
Our iscsi target is ready. Now we can go back to ESXi hosts and add this shared storage.
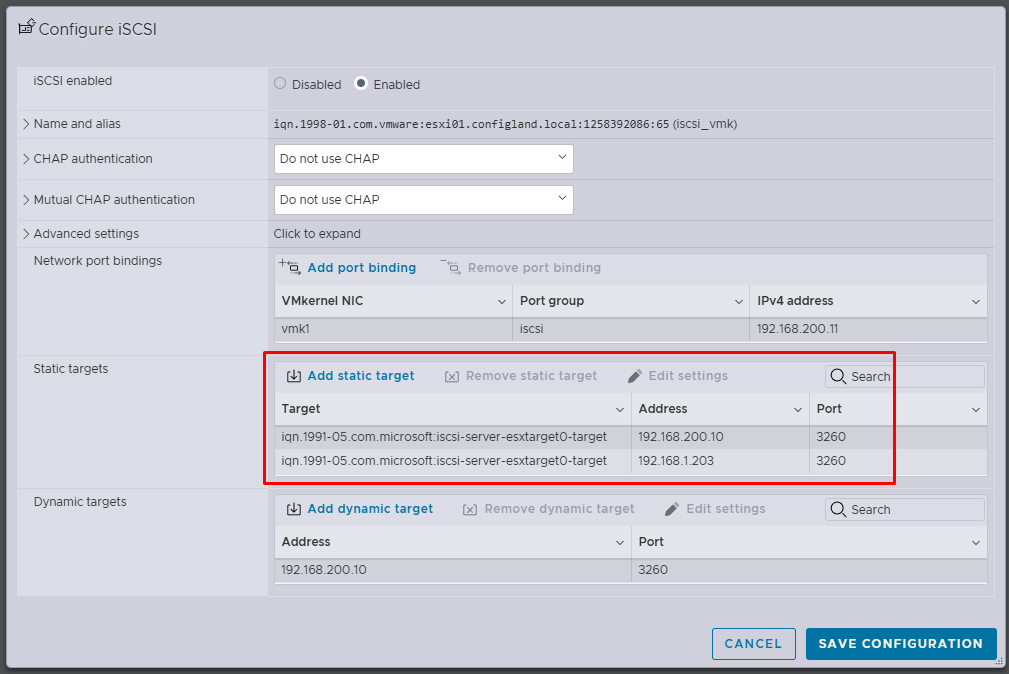
The iSCSI software adapter is disabled by default in ESXi. To enable it, open Storage -> Adapters. Click Software iSCSi. Add port binding and select iSCSI vmkernel port.
in the Dynamic targets section, add the IP address of your iSCSI storage and the connection port (by default, the TCP Port 3260 is used for the iSCSI traffic) . Save.

ESXi will scan all iSCSI targets on the storage and display them in the Static Targets list.
Now we can use this disk as a shared storage. Storage > Datastores > New Datastore > Create New VMFS Datastore
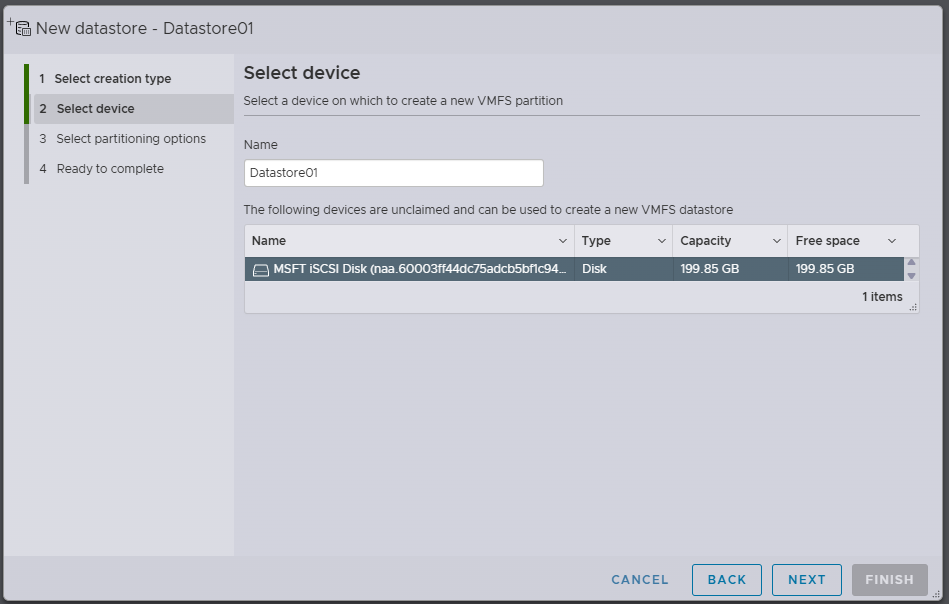
We added this datastore to Esxi01 only. After you install vcenter server and add these Esxi hosts to myour cluster, Datastore will be available for both Esxi nodes.
Thanks for reading!