Most probably you already know what is WDS (Windows Deployment Services) used for but in case someone might not know I will try to explain it, too. Windows Deployment Services is the updated and redesigned version of Remote Installation Services (RIS). Windows Deployment Services enables you to deploy Windows operating systems over the network, which means that you do not have to install each operating system directly from a CD or DVD.
In our organization, I setup WDS and installed 1600 computers in just 2 days. It approximately takes 15 minutes to install Operating System Image on each computer with standard applications you may need such as Office, Acrobat Reader and so on. We deployed OS image to computers in groups and each group had 50 computers in our deployment.
The servers we need to have in our environment for WDS are Active Directory Server, DNS Server and DHCP Server. In my environment, AD and DHCP are on the same server which is Windows Server 2008 R2 Enterprise but I will install WDS on Server 2012 operating system.
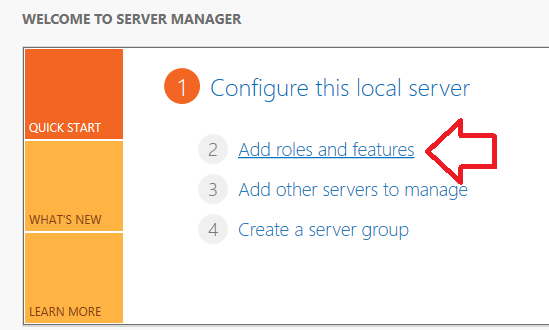
Let's start installing WDS on our server 2012. Click Add roles and features.
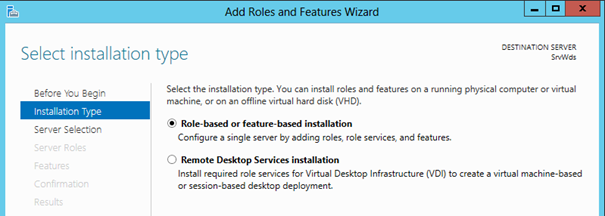
Select Role based or feature based installation
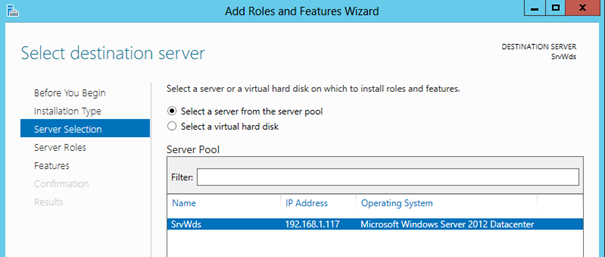
Click Next
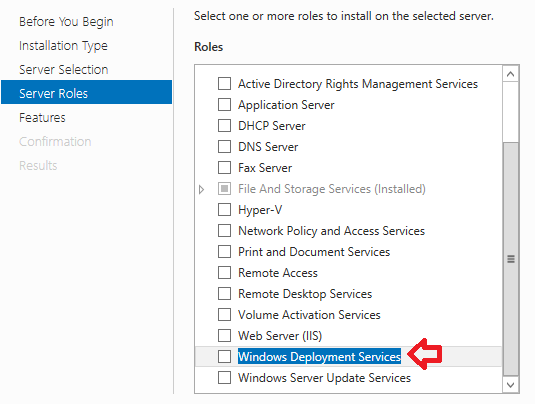
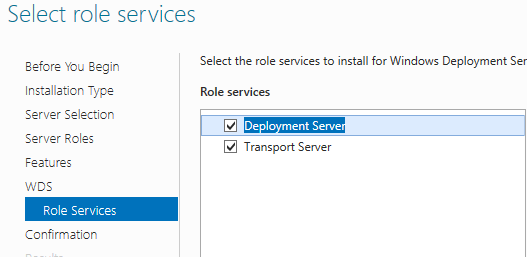
Select Windows Deployment Services
Hit Add Features button


Select both Deployment Server and Transport Server Role

After the installation completed, open Windows Deployment Services Console and select Configure Server.

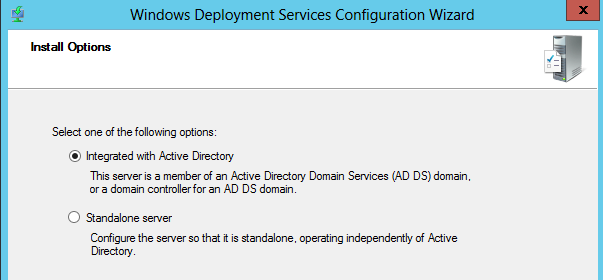
I will be joining computers to the domain during the WDS deployment, so I go with the option Integrated with Active Directory.
Note:
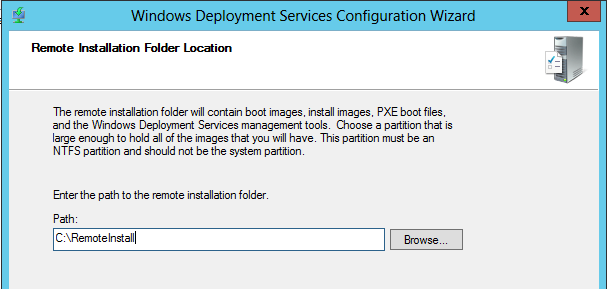
The picture below shows that the Remote Installation Folder Location is C but it is better to use the secondary partition because you can extend it if needed.
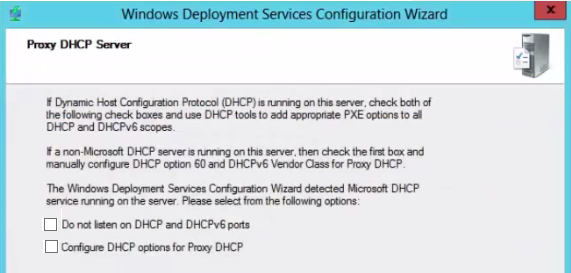
If DHCP and WDS are on the same server check both boxes. If not, make sure boxes are not checked and click next
WDS server will respond to all client

Restart WDS

Right click Install Image and Add Image Group

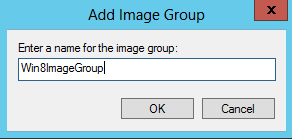
Give a name to Image Group
Now copy all the contect of Win8 or 8.1 DVD into a folder on partition D.
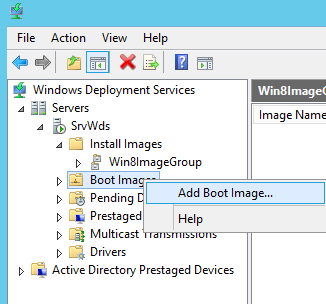
Click on boot image and select Add Boot Image and name it as Install Image.
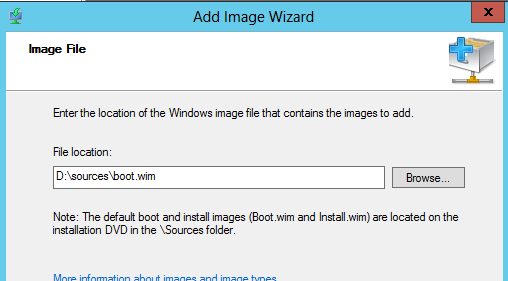
Browse the boot.wim file which resides in Windows8 folder we just copied to D partition.
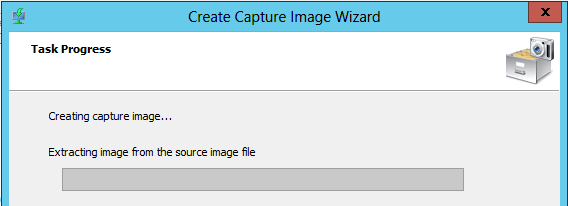
Click on boot image and select Create Capture image

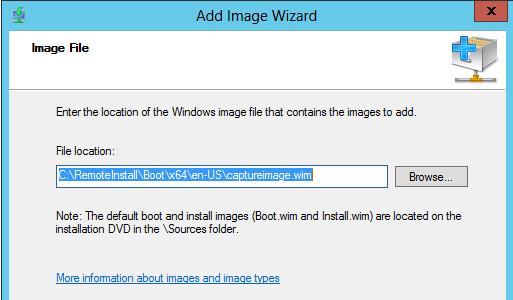
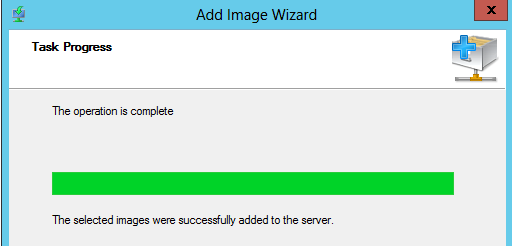
Browse C:\RemoteInstall\Boot\x64\en-US and name it as captureimage.wim





WDS Server is installed. Now start WDS, and open AD DS tab. You can define automatically generated computer names to your computers. I used the below format in my deployment. This format names computers automatically as NBS001,NBS002 till NBS999
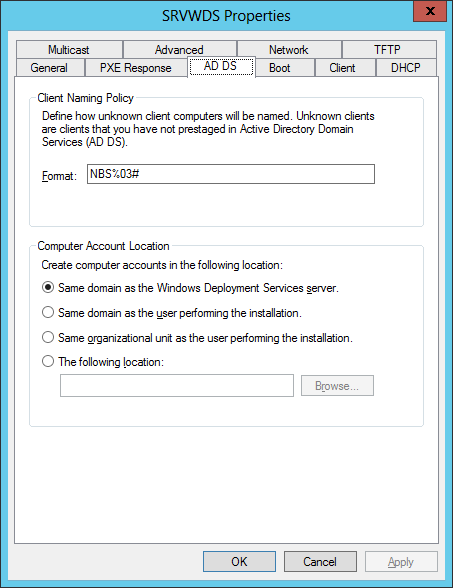
The policy string works as follows:
%First: the user's first name
%Last: the user's last name
%Username: the user's user name
%MAC: the MAC address of the computer
%n#: an incremental n-digit number. For example, %2# will add a number to the computer name in the following order: 1,2,3,…99.
%0n#: an incremental n-digit number, with zeros added before the digit. For example,
%02# will add a number to the computer name in the following order: 01,02,03,…99. These values can be combined in any order. A number before a tag string (such as %3First or %5Username) will crop the string to that length.
For example:
%61Username%# equals JohnSmi12
%2first.%last equals Jo.Smith
