
In this article, I will install SAP 7.4 and SAP Patch 7.
Part 1: Creating the SAP Single Package
Run NwSapSetupAdmin.exe from the setup folder which is located in the following path
SapGui 7.40 and NWBC 5.0\Gui 7.40\BD_NW_7.0_Presentation_7.40_Comp._1_\PRES1\GUI\WINDOWS\WIN32\Setup.
SAP Installation Server Administration Tool will start and we will click New Package.

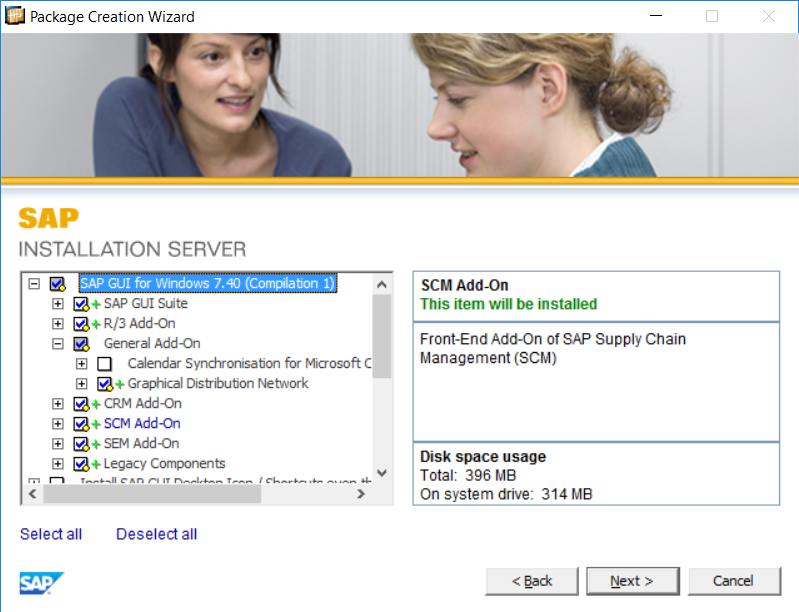
Select the components you need, Calender Sync for Outlook causes some problems. So I deselect it.

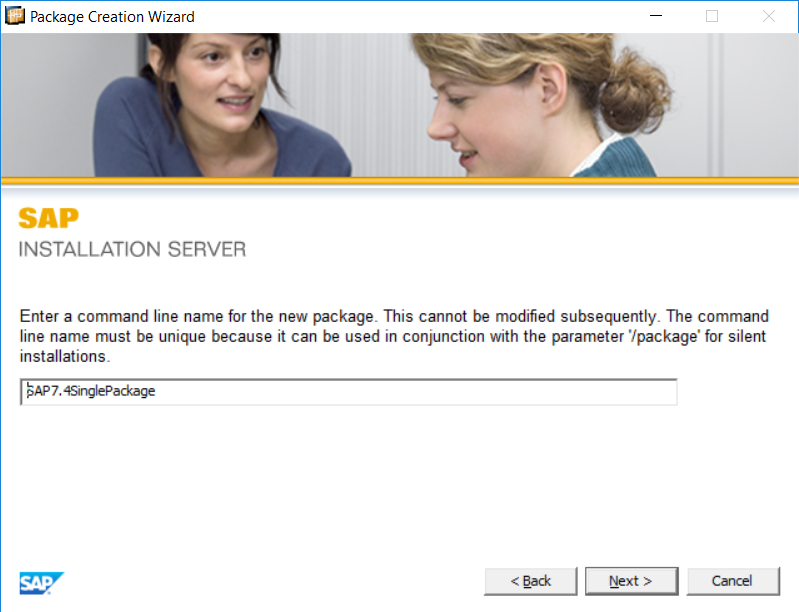
Dont change the name, click Next

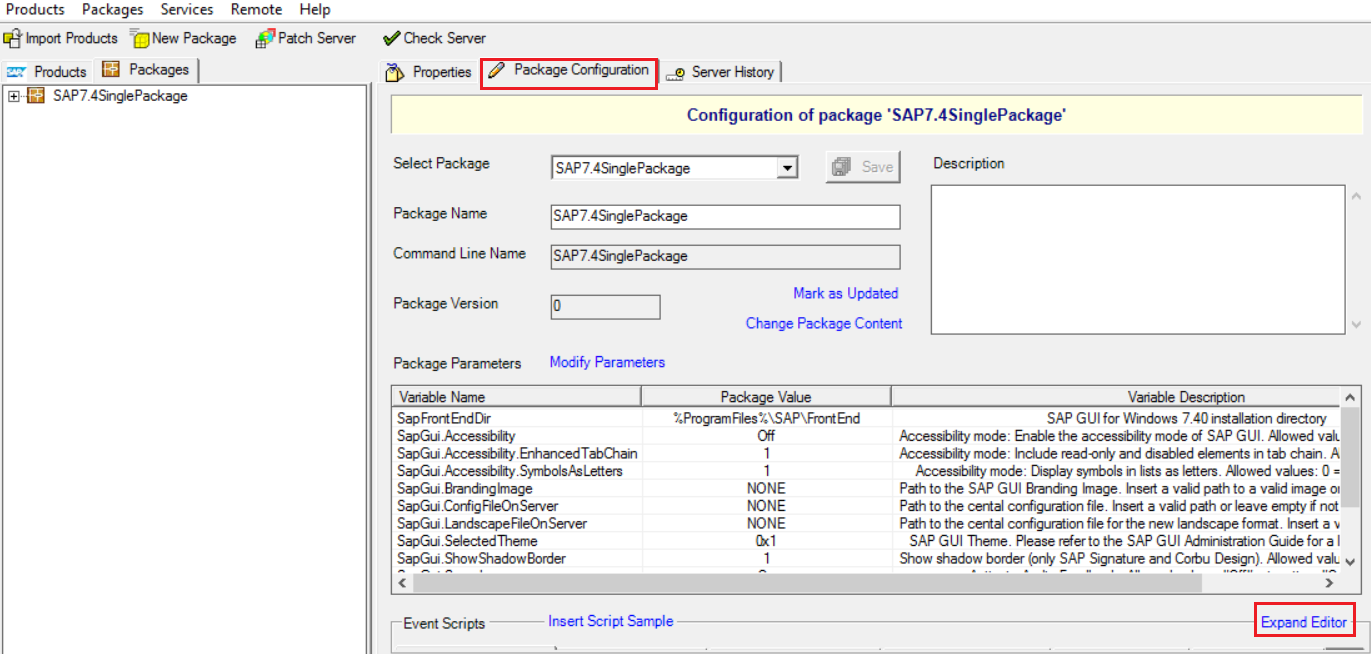
After you click close, we will return the Package Configuration. Click “Expand Editor”.
Select "On Installation End " and right click on the empty field and select Insert Script
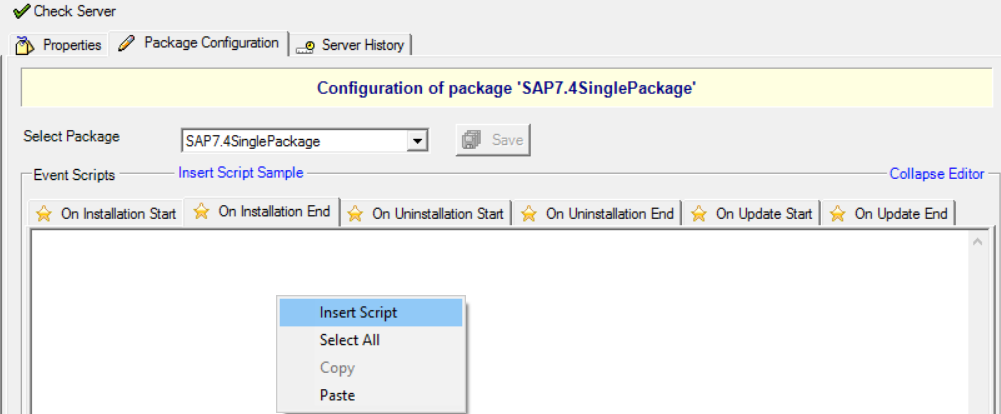
Select Sample 1: Copying a file and click Insert
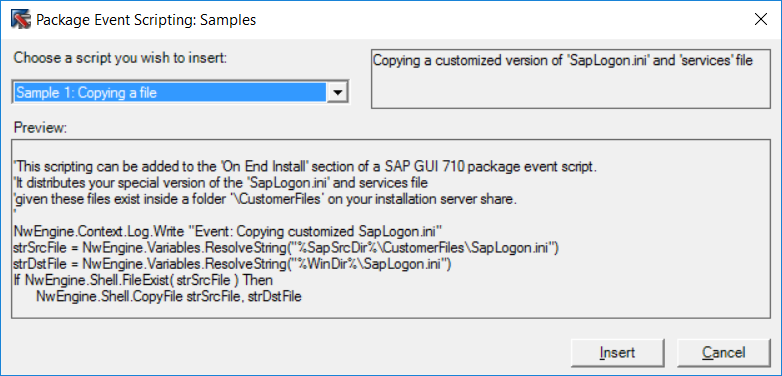
After the script is inserted, click Save

Under the SAP Installation Folder, create a folder named CustomerFiles and copy saplogon.ini into that folder. If you don’t have saplogon.ini file, first install SAP to a computer manually and you will find saplogon.ini file in the following path:
C:\Users\selimatmaca\AppData\Roaming\SAP\Common

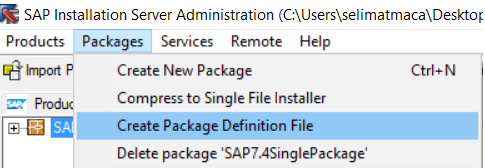
On SAP Installation Server Administration Tool, select the package that you created. Select Packages from the menu and select Create Package Definition File
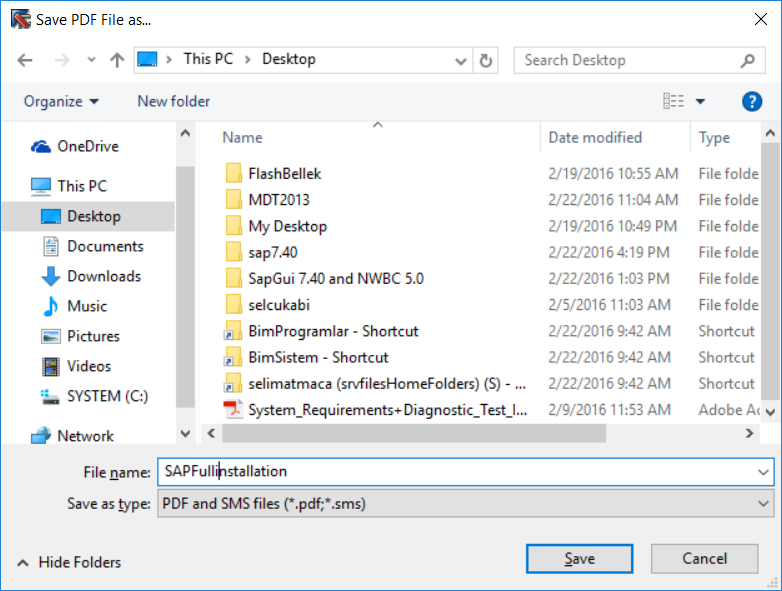
Save it on Desktop. This process will create pdf and sms files.
Select Package from the menu, and now select Compress to single–file installer

This creates the Single File Installer and I am saving it to Desktop for now.

Now we will copy our single package installer to a shared folder named SAP7.4. Also copy the pdf and sms files into this folder.

Because this article will be longer than what I expected, I think it is a good idea to have multiple parts for this reading. Part2