
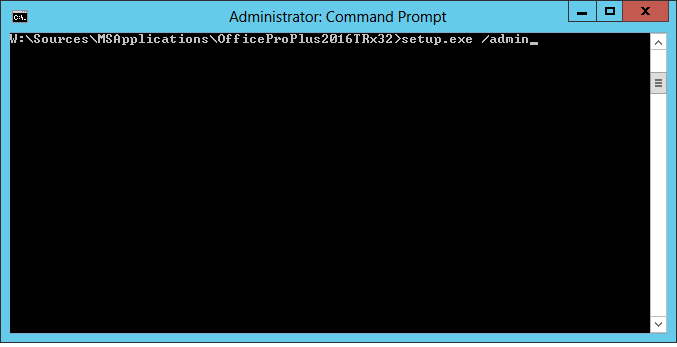
In this article, I am going to deploy Office 2016 by using SCCM 2012. First of all, lets copy the Office setup folder to a shared folder. Start command prompt with admin privileges, change directory to where office folder resides and type “setup.exe /admin”
Microsft Office Customization Tool will be launched, select “Create a new Setup customization file” and click OK

Select licensing and user interface, we have KMS in our environment.

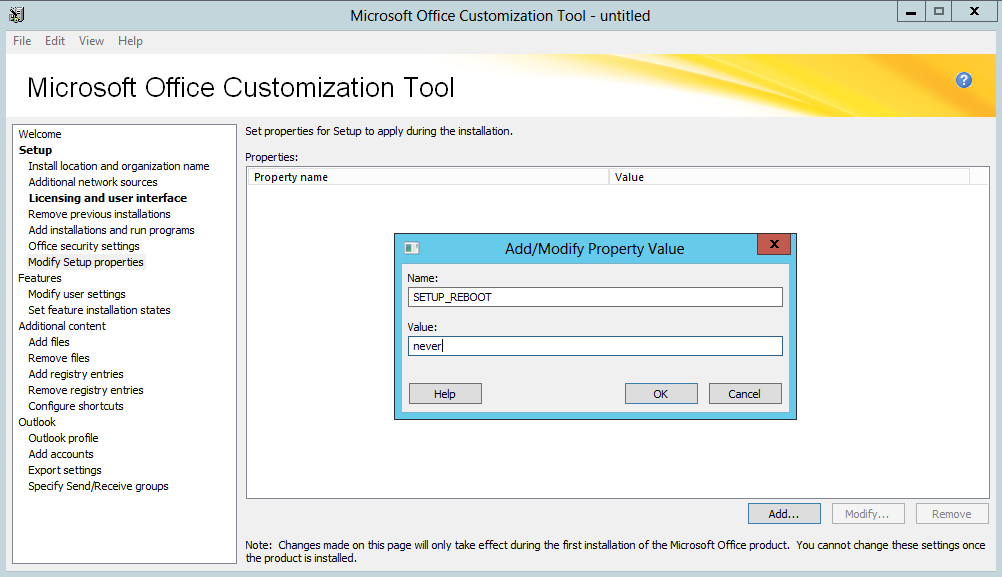
Select Modify Setup properties, click Add, in the name field, type “SETUP_REBOOT”. In the value field, type “never”. Click OK.
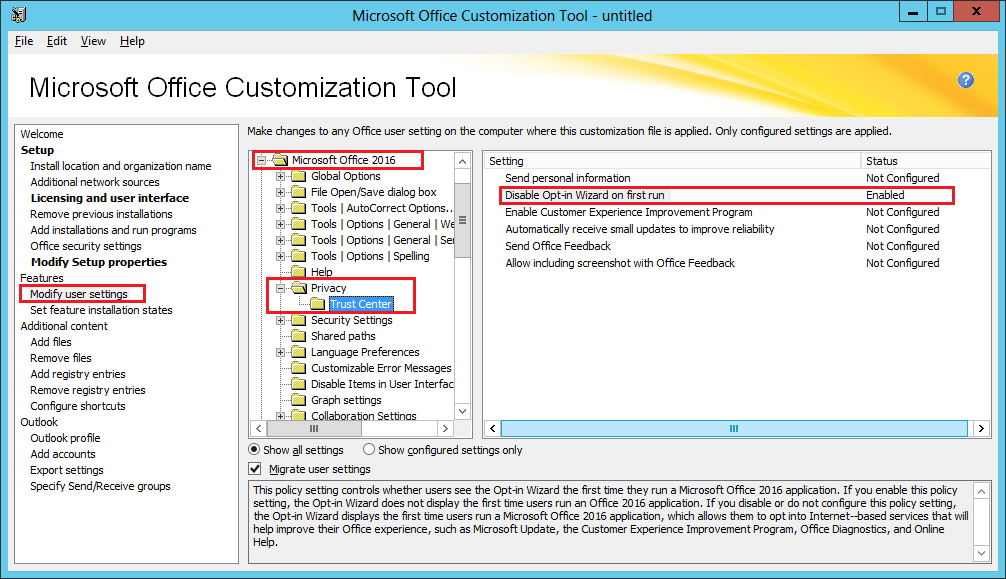
Select Modify User > Microsoft Office 2016 > Privacy > Trust Center > change the setting “Disable Opt-in Wizard on the first run” to Enabled.
Now we can save the customization file into the folder named Update that resides under Office folder. Then close the Office customization tool.

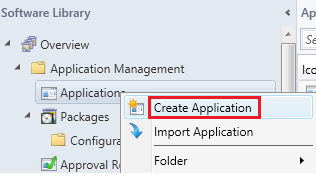
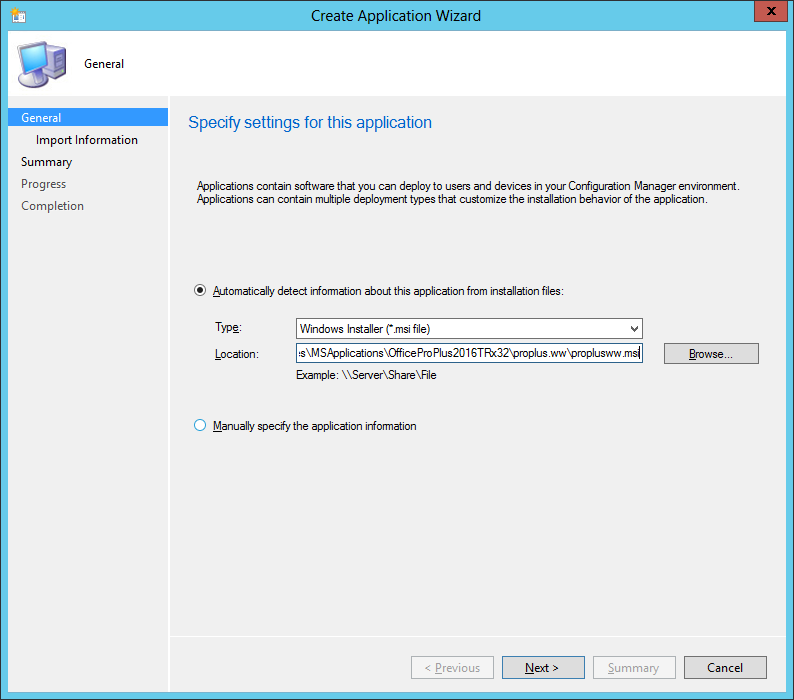
Now we can create the application for Office 2016. Right click Applications, choose “Create Application”
Use UNC path of the office folder and browse to \OfficeFolder\proplus.ww\proplusww.msi file.

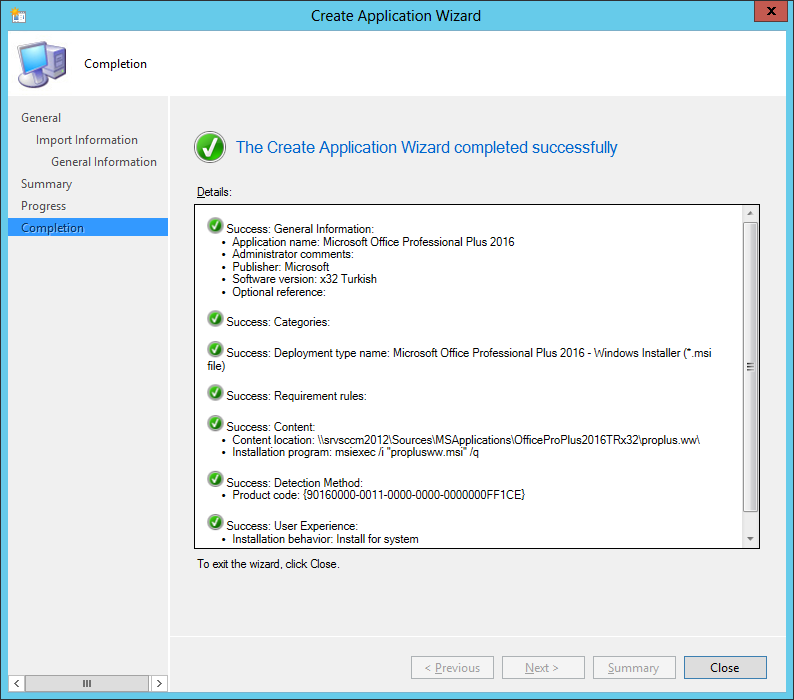
And complete the rest of the wizard.
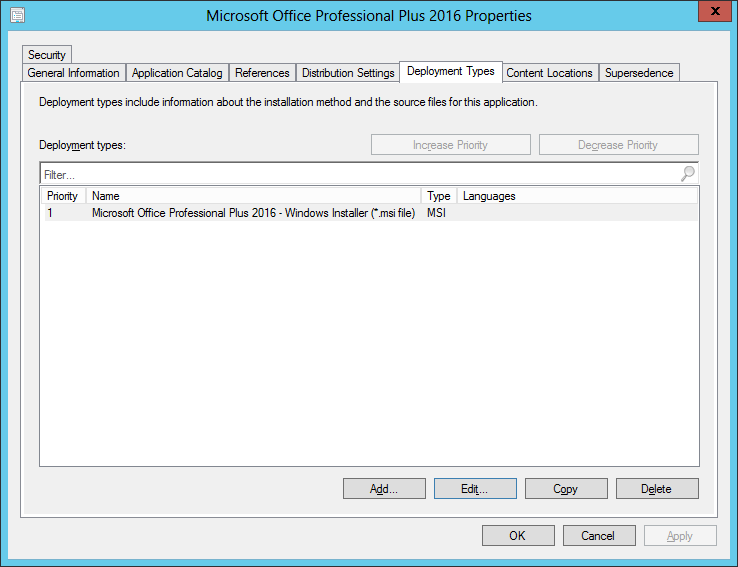
Right click the Office 2016 Application you created, select Properties, open Deployment Types and choose Edit
Select Content tab and remove the “proplus.ww\” part of the content location. It should look like this.

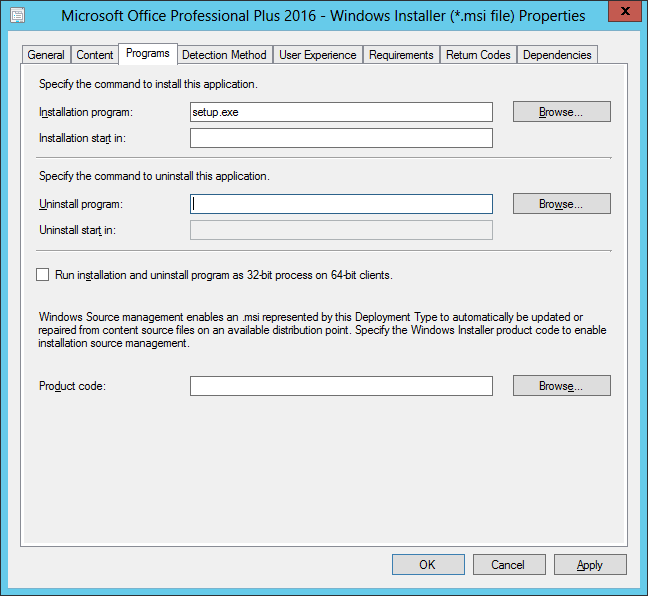
Click Programs tab and change the entry for Installation Program to “setup.exe”
Now all we need to do is distribute the application to DPs and then deploy the application to the desired collections.