
First we need to create a deployment image and save it to a shared folder
Run Setup.exe > Create Deployment

Give a name to your deployment
Administrative Image Path is the shared folder where we will keep our image at

Enter your license details here. I choose Network because I have a network license manager server in my environment

Select the products you want to include in this image and complete the wizard.

On SCCM Console, Create a Application
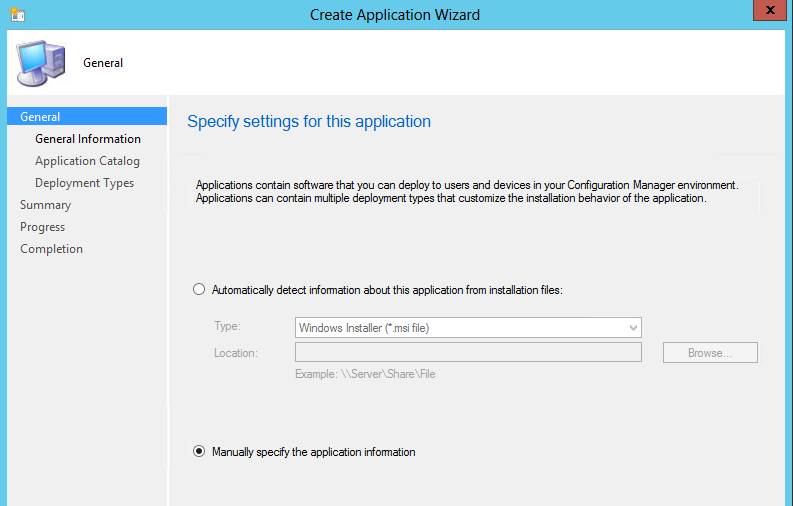
Specify App Details
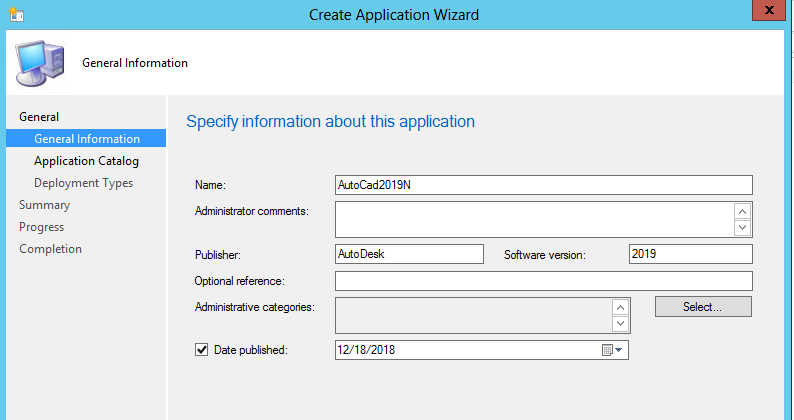
You can add documentation, icon or highlight the app in Software Center

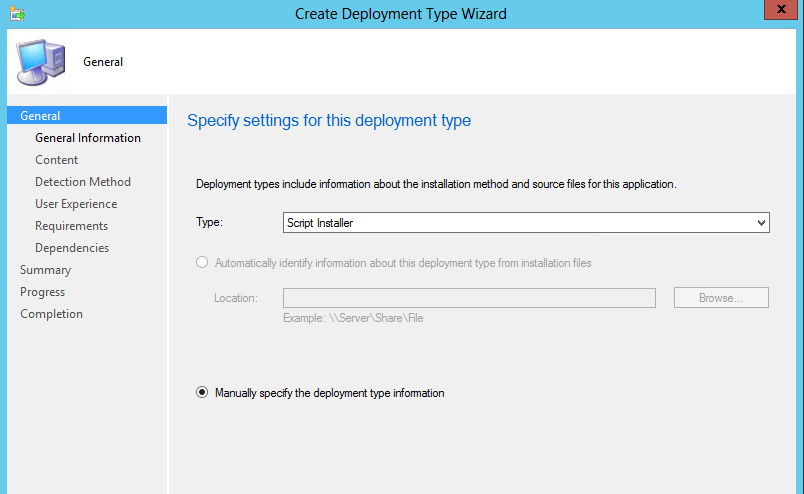
Click Add to define Deployment Type

Select Script Installer

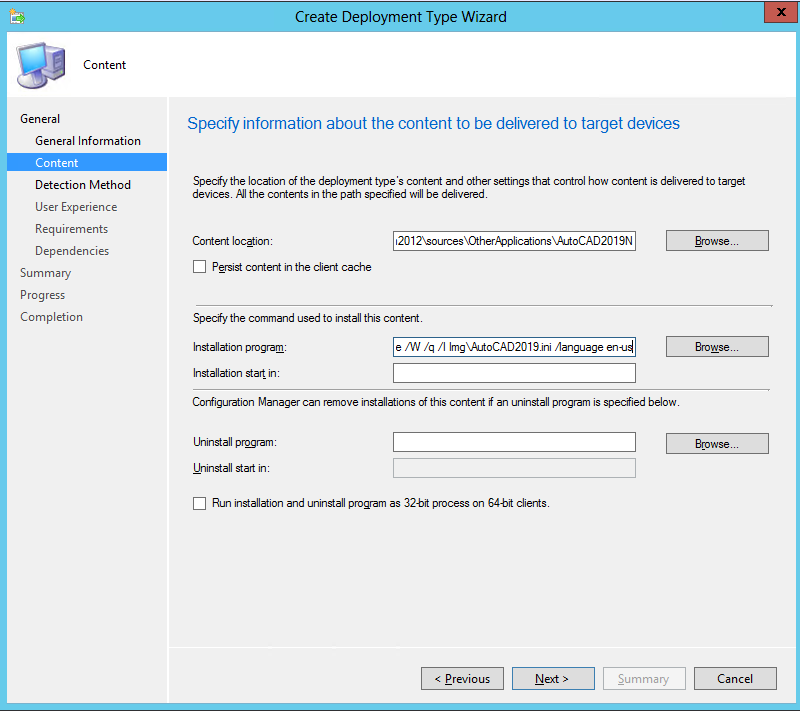
Content Location is the shared folder we specified while creating the Deployment Image.
\\srvMySiteServer\sources\OtherApplications\AutoCAD2019N
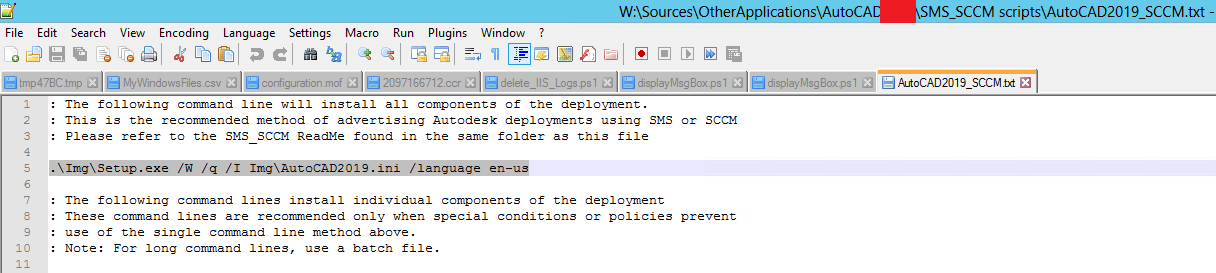
Installation Program: In the Deployment Image, there is a folder named SMS_SCCM scripts.
And In that folder there is txt file named <DeplomentName>_SCCM.txt. Below picture shows that file. Just copy the install command which resides at the top of the document and paste it Installation Program like below.
.\Img\Setup.exe /W /q /I Img\AutoCAD2019.ini /language en-us
Add Clause

We will check if acad.exe exists

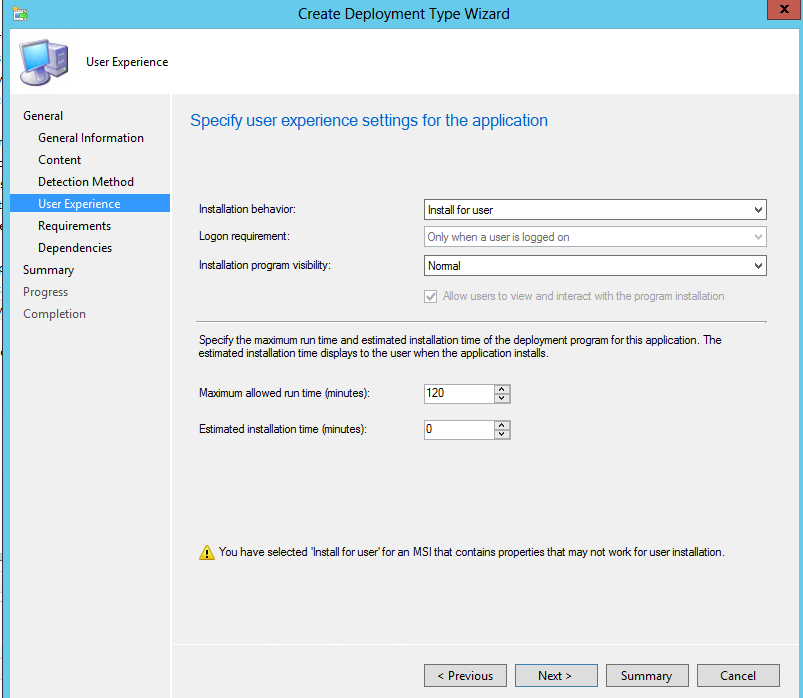
I will deploy it to users, you can deploy to computers if you want to
No requirements defined

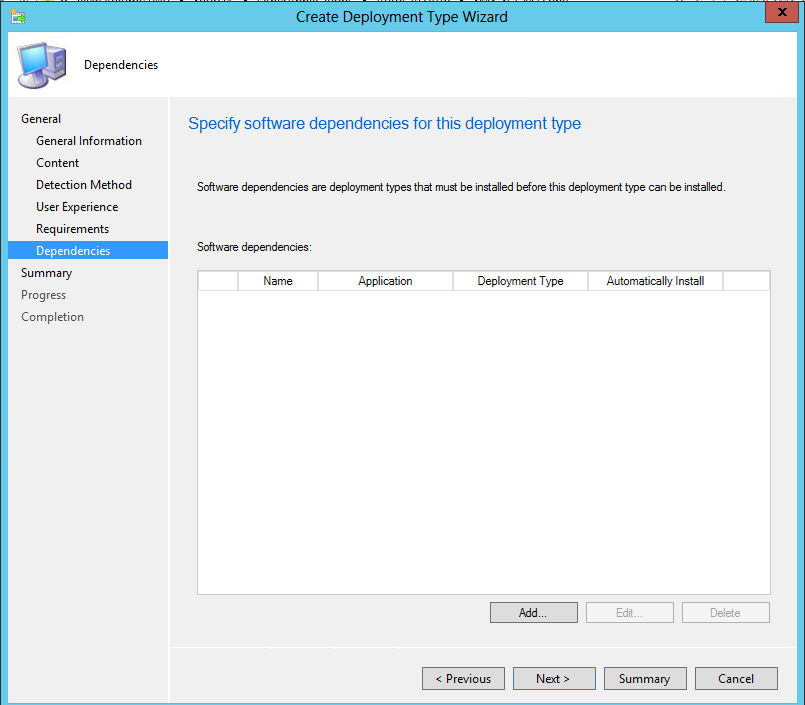
No dependencies exist
Complete the rest of the wizard . Distribute and Deploy the Application.